Welcome to a world where YOU are in control of your own health. Understanding how your body works in tandem with nature allows you to step out of pain, discomfort and disease, and into a fabulous life of health and abundance. This portal is designed to take you there. Let us begin.
Saturday, October 19, 2013
Your What Hurts? Part 3
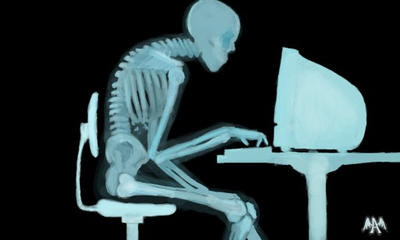
As a review from Part 1 and Part 2 of this series, the things we do to our body in this modern era are deplorable. Isaac Newton once said, "To every action there is an equal and opposite reaction." Holding one position for any extended period without release and reconnaissance promises damage in the form of chronic pain and postural distortion. Fret not. There are ways we can circumvent the abuse, as long as we take the time to correct the errors we have created for our poor bodies. In the previous post, I addressed the yogic posture of the "Reclined Tailor" to assist in re-establishing integrity to the human body, despite the modern stresses of every day work and life. In this post, we will explore another restorative pose called the "Mountain Brook".
Now, I do not have the "proper" name for this pose. (My Hindi speaking friends are welcome to help. Namaste.) The Mountain Brook pose was designed to mimic the flow of water over pepples in a stream, whereas the "pebbles" are the natural, spinal curves we are supposed to have. Some consider Mountain Brook to be a "kinder and gentler" form of the Reclined Tailor. If you look at the kinesiology of the two poses, however, you will see that there are subtle differences to be gleaned from each. The Reclined Tailor pose involves the lumbar spine, whereas the Mountain Brook takes the low back out of the equation so the thoracic spine and neck can be focused on. (Once versed in how to do both, try them both. The body's intelligence will show the difference.) Let us begin.
You will need many of the same props used in the Tailor Reclining pose. If knee issues are present, only one bolster under the both of them will be needed, this time. A folded blanket or pillow for the upper back, and an additional, small pillow for the neck, or the like, are needed. A "T-square" of criss-crossed bolsters works very well here, as well.
Start in an upright, seated position with legs straight out in front. Place the bolster under the knees, if needed. Recline back onto the pillows set up for the upper back and neck. It should look something like this:
(Imageby https://blogger.googleusercontent.com/img/b/R29vZ2xl/AVvXsEitiX7M9EGKN0n1ctlo61LznA0QS0_K1O1KoQvp0URX_sEcmzg4Ve_D65MzdfLETzqjyX8BtD-WdSPXuDJR8uNZRVeNojgbBkq-FhAdmogFNMqBQiRfoBPJdwPhKshXnqQkUxQ-OWdP_Rs8/s1600/Heidi---Bliss-Blog-Pic.jpg)
This is a restorative pose, like Reclining Tailor. The difference is that the lumbar spine and hips are not involved. The upper back gets a greater, gentle extension. This pose can be held for one minute or beyond. (I have fallen asleep like this, truth be told.) This pose serves to re-establish intregrity of the kyphotic and lordotic curves of the spine that are supposed to be present in a healthy body.
Exiting this pose is the same as that described in Part 2 of this series. Bring the knees up, remove props in the way, roll it out to one side, then push back up to a comfortable, seated position. Take a moment here to breathe and pay attention to the sensations traveling about the body. This is "body intelligence" that supersedes anything we may try to do it in the course of our modern lives. Feel it. Breathe it. Remember it. Most importantly, come back to it, repeatedly. This is how new habits are born.
May this inspire you to improve your posture. Have a healthy, and happy day! Om shanti. :)
Subscribe to:
Post Comments (Atom)


No comments:
Post a Comment
Your comments are always welcome and very important! Please feel free to leave your thoughts here. Namaste. :)